When you choose to build your dream home, you are embarking on an adventure!
Clients often ask – “What’s the next step?”
This post is a simple outline to help you understand what to expect and when throughout a home build:
1. Lot Work
Find and Buy Your Lot
Prepare Construction Site and Pour The Foundation
Apply for and Acquire Permits – the process is different in every city (Contact your homebuilder for further details)
Begin installing wooden forms for the temporary foundation
Dig and pour footings
Do not do any work on the home before you obtain the proper permits. Before anyone can put a shovel in the ground, local government must approve the design and provide permits for everything from the zoning and grading, then to the septic systems, home construction, electrical work, and plumbing. Once permits are obtained, the physical hard work can begin!
Depending on your builder, site preparation and foundation work are typically performed by the same construction crew. Using a backhoe and a bulldozer, the crew clears the site of rocks, debris and trees for the house and, if necessary, the septic system. The crew levels the site, puts up wooden forms to serve as a template for the foundation and digs the holes and trenches. Footings (structures where the house interfaces with the earth that supports it) are installed. If your home needs a well, it will be dug at this point.
If the home has a full basement, the hole is dug, the footings are formed and poured, and the foundation walls are formed and poured. If it’s slab-on-grade, the footings are dug, formed and poured; the area between them is leveled and fitted with utility runs (e.g. plumbing drains and electrical chases); and the slab is poured.
Once concrete is poured into the holes and trenches, it will need time to cure. During this period, there will be no activity on the construction site.
After the concrete is cured, the crew applies a waterproofing membrane to the foundation walls; installs drains, sewer, and water taps and any plumbing that needs to go into the first-floor slab or basement floor; and backfills excavated dirt into the hole around the foundation wall.
Inspection #1
When the curing process is complete, a city inspector visits the site to make sure foundation components are up to code and installed properly. This inspection may be repeated depending on the type of foundation (slab, crawl space or basement). Your builder will then remove the forms and begin coordinating step No. 2, the framing phase.
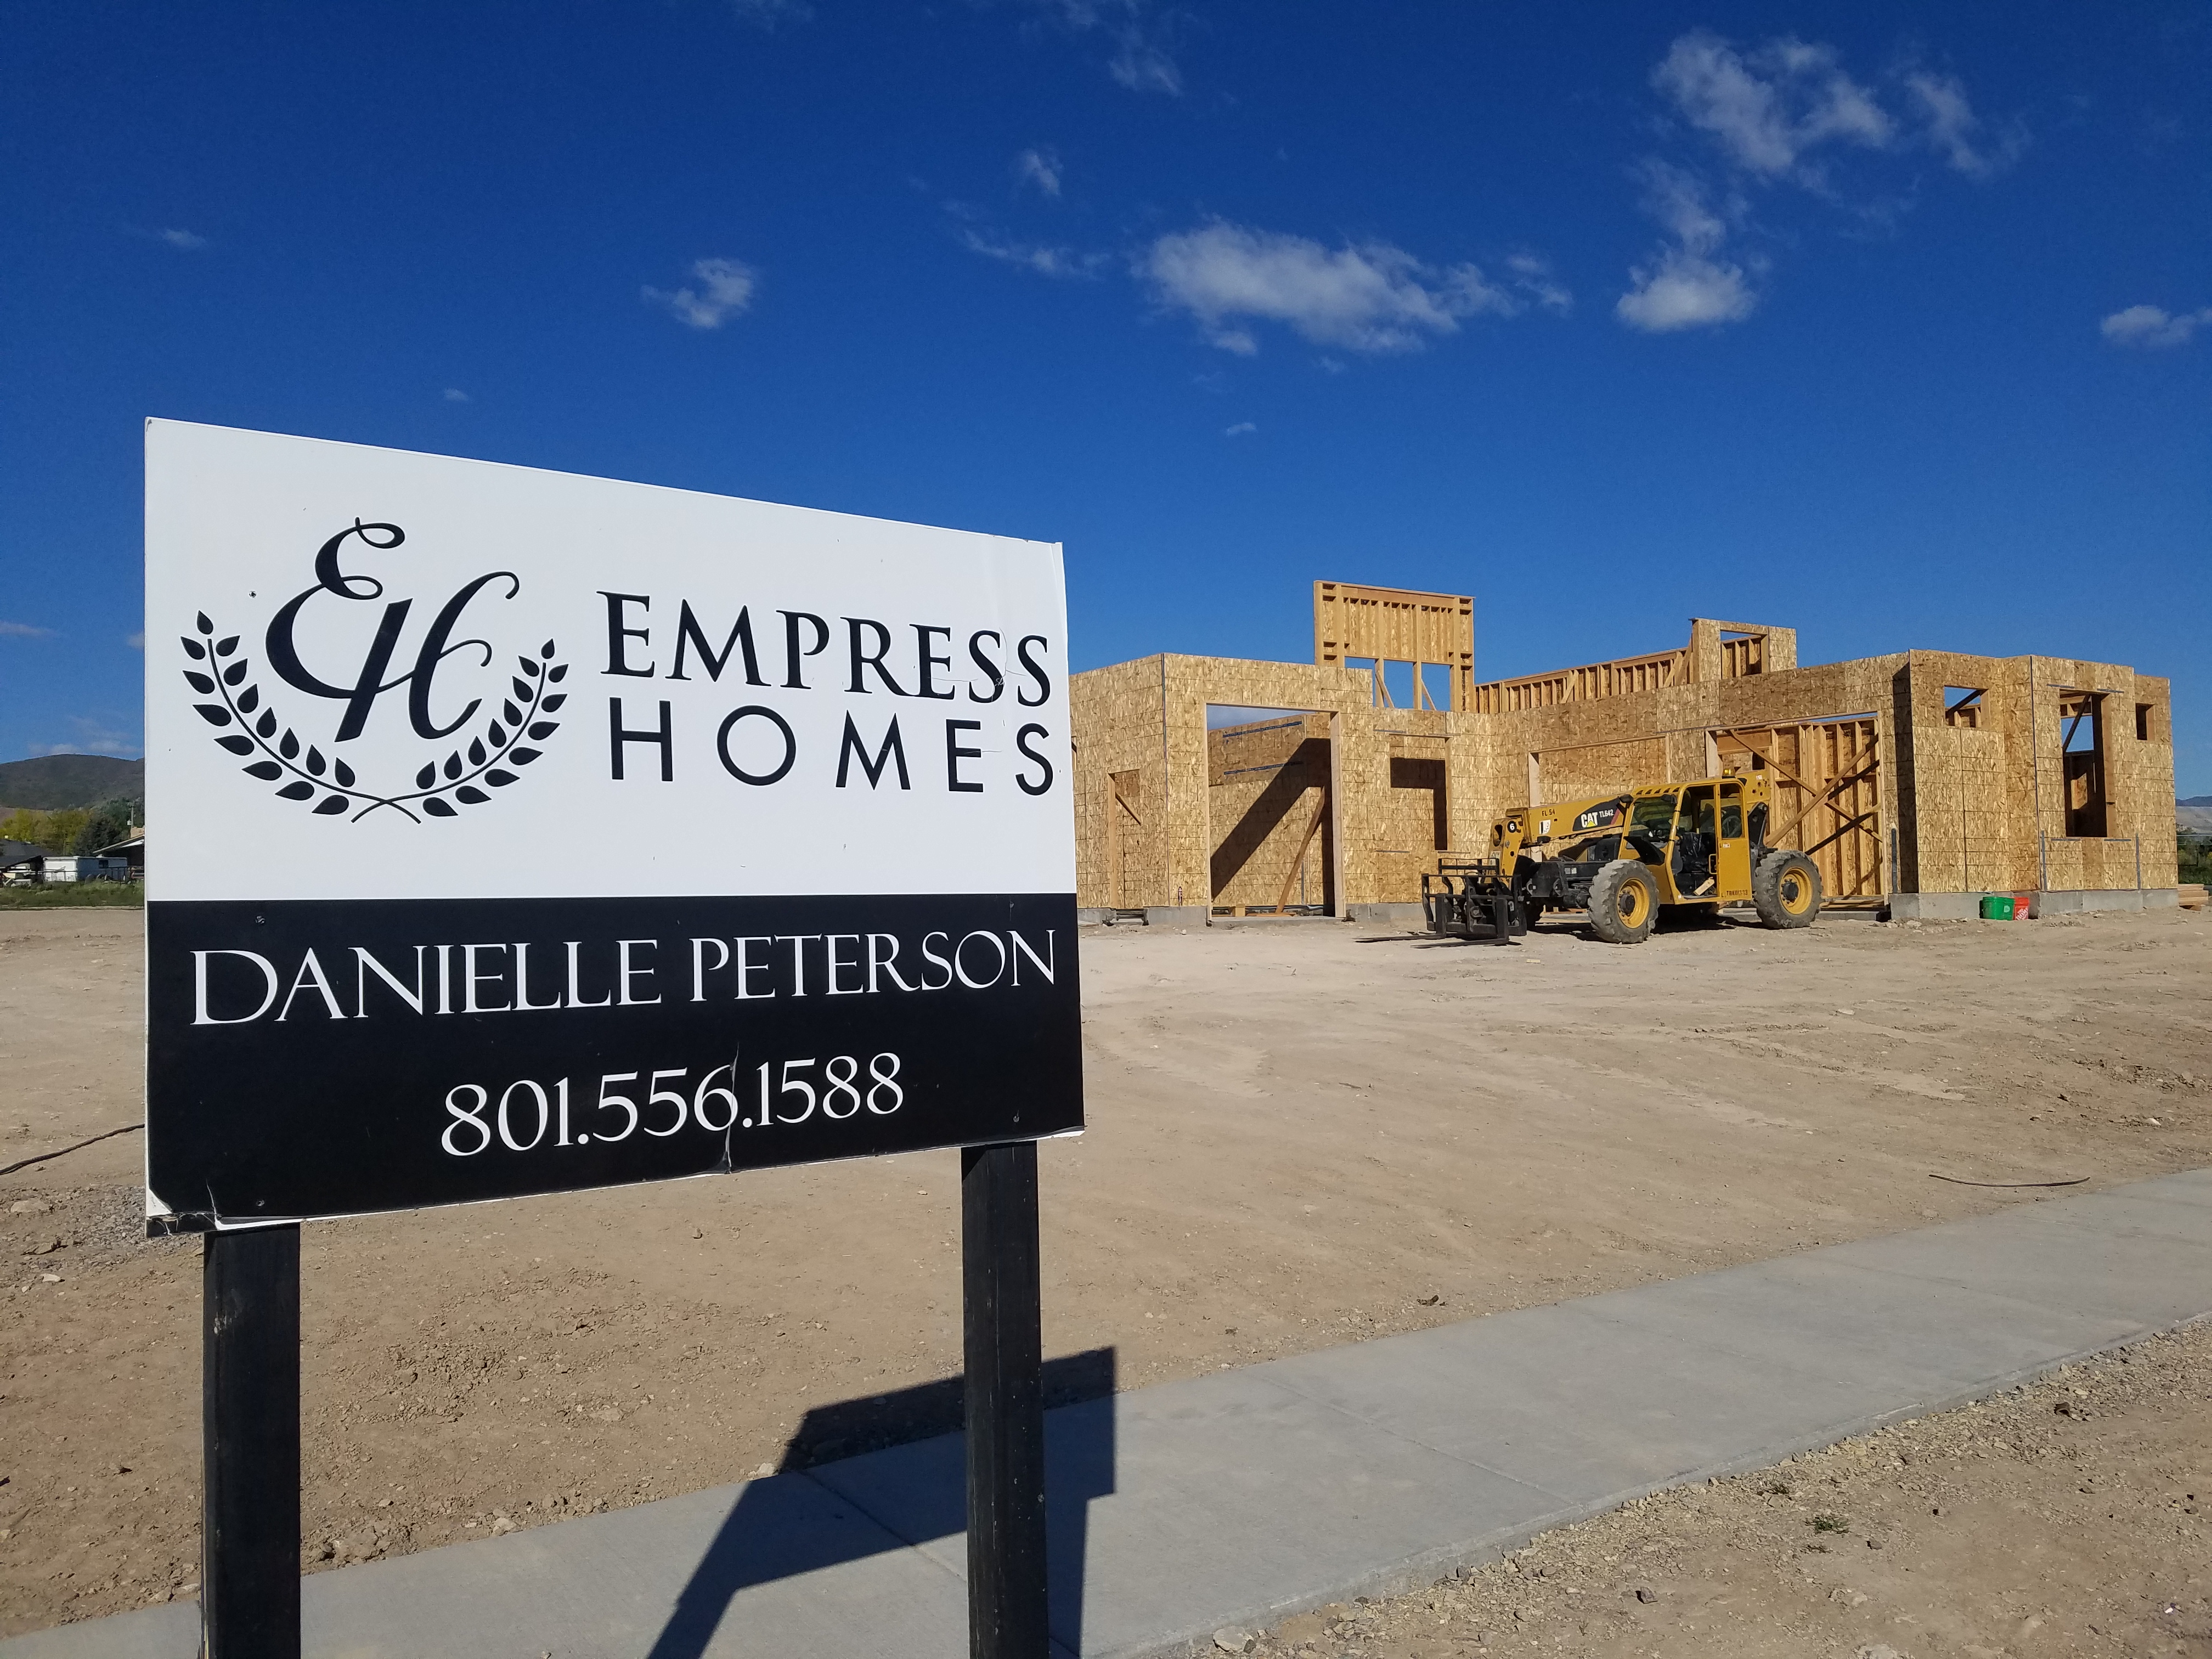
2. Complete Rough Framing
Floor System, Walls, Roof Systems Are Completed
Sheathing Applied to Exterior Walls, Covered With Protective Wrap
The floor systems, walls and roof systems are completed (collectively known as the shell or skeleton of the house). Plywood or oriented strand board (OSB) sheathing is applied to the exterior walls and roof and windows and exterior doors are installed. The sheathing is then covered with a protective barrier known as a house wrap; it prevents liquid water from infiltrating the structure while allowing water vapor to escape. This reduces the likelihood of mold and wood rot.
3. Complete Rough Plumbing, Electrical HVAC
The Following Are Installed:
Pipes and Wires
Sewer Lines and Vents
Water Supply Lines
Bathtubs, Shower Units
Ductwork for HVAC System
HVAC Vent Pipes
Once the shell is finished, siding and roofing can be installed. At the same time, the electrical and plumbing contractors start running pipes and wires through the interior walls, ceilings and floors. Sewer lines and vents, as well as water supply lines for each fixture, are installed. Bathtubs and one-piece shower/tub units are put in place at this point because there’s more room to maneuver large, heavy objects.
Ductwork is installed for the heating, ventilation and air conditioning (HVAC) system, and possibly the furnace. HVAC vent pipes are installed through the roof and insulation is installed in the floors, walls and ceilings.
After the roofing goes on, the house is considered “dried in.” An electrician then installs receptacles for outlets, lights and switches and runs wires from the breaker panel to each receptacle. Wiring for telephones, cable TV and music systems is included in this work.
Note that HVAC ducts and plumbing are usually installed before wiring because it’s easier to run wires around pipes and ducts than vice versa.
Inspections #2, #3, #4
Rough framing, plumbing, and electrical and mechanical systems are inspected for compliance with building codes. Most likely these will be three different inspections. At the very least, the framing inspection will be conducted separately from the electrical/mechanical inspections.
At this stage, drywall (also known as plasterboard, wallboard or gypsum board) is delivered to the building site.
4. Install Insulation
Common Types of Insulation in New Homes
Fiberglass
Cellulose
Foam Mineral Wool
Concrete Blocks
Insulation Concrete Forms
Spray Foam
Structural Insulated Panels
Foam Board or Ridged Foam
Insulation plays a key role in creating a more comfortable, consistent indoor climate while significantly improving a home’s energy efficiency. One of the most important qualities of insulation is its thermal performance or R-value, which indicates how well the material resists heat transfer. Most homes are insulated in all exterior walls, as well as the attic and any floors that are located above unfinished basements or crawl spaces.
The most common types of insulation used in new homes are fiberglass, cellulose and foam. Depending on the region and climate, your builder may also use mineral wool (otherwise known as rock wool or slag wool); concrete blocks; foam board or rigid foam; insulating concrete forms (ICFs); sprayed foam; and structural insulated panels (SIPs).
Blanket insulation, which comes in batts or rolls, is typical in new-home construction. So is loose-fill and blown-in insulation, which is made of fiberglass, cellulose or mineral-wool particles. Another insulation option, liquid foam, can be sprayed, foamed-in-place, injected or poured. While it costs more than traditional batt insulation, liquid foam has twice the R-value per inch and can fill the smallest cavities, creating an effective air barrier.
Fiberglass and mineral-wool batts and rolls are usually installed in side walls, attics, floors, crawl spaces, cathedral ceilings and basements. In areas where the insulation will be left exposed, such as basement walls, the bats sometimes have a special flame-resistant facing.
5. Complete Drywall and Interior Fixtures, Start Exterior Finishes
Drywall is Hung and Taped
Texturing is Completed
Primary Coat of Paint is Applied
Exterior Finishes (Brick, Stucco, Stone) Are Installed
Drywall is hung and taped so the seams between the boards aren’t visible, and drywall texturing (if applicable) is completed. The primer coat of paint is also applied after taping is complete. Contractors begin installing exterior finishes such as brick, stucco, stone and siding.
6. Finish Interior Trim, Install Exterior Walkways and Driveway
Doors, Window Sills, Decorative Trim Installed
Cabinets, Vanities, Fireplace Mantles Installed
Final Coat of Paint
Interior doors, baseboards, door casings, window sills, moldings, stair balusters and other decorative trim are installed, along with cabinets, vanities and fireplace mantels and surrounds. Walls get a finish coat of paint and are wallpapered where applicable.
Generally, exterior driveways, walkways and patios are formed at this stage. Many builders prefer to wait until the end of the project before pouring the driveway because heavy equipment (such as a drywall delivery truck) can damage concrete. But some builders pour the driveway as soon as the foundation is completed so that when homeowners visit the construction site, they won’t get their shoes muddy.
7. Install Hard Surface Flooring, Countertops; Complete Exterior Grading
Ceramic tile, vinyl and wood flooring are installed as well as countertops. Exterior finish grading is completed to ensure proper drainage away from the home and prepare the yard for landscaping.
8. Finish Mechanical Trims; Install Bathroom Fixtures
Light fixtures, outlets and switches are installed and the electrical panel is completed. HVAC equipment is installed and registers completed. Sinks, toilets and faucets are put in place.
9. Install Mirrors, Shower Doors; Finish Flooring, Exterior Landscaping
Mirrors, shower doors and carpeting are installed and final cleanup takes place. Trees, shrubs and grass are planted and other exterior landscaping completed.
Inspection #5
A building-code official completes a final inspection and issues a certificate of occupancy. If any defects are found during this inspection, a follow-up inspection may be scheduled to ensure that they’ve been corrected.
10. Final Walk-Through
Fix everything that needs to be adjusted or corrected.
Your builder will walk you through your new home to acquaint you with its features and the operation of various systems and components and explain your responsibilities for maintenance and upkeep, as well as warranty coverage and procedures. This is often referred to as a pre-settlement walk-through. It’s also an opportunity to spot items that need to be corrected or adjusted, so be attentive and observant. Examine the surfaces of countertops, fixtures, floors and walls for possible damage. Sometimes disputes arise because the homeowner discovers a gouge in a countertop after move-in and there’s no way to prove whether it was caused by the builder’s crew or the homeowner’s movers.
A Few Words About Inspections
Your new home will be inspected periodically during the course of construction. In addition to mandated inspections for code compliance, your builder may conduct quality checks at critical points in the process. (In the story above, we point out when these inspections typically take place.) The idea is to catch as many potential problems as possible before construction is finished, though some issues may not surface until you’ve lived in the home for a period of time.
Many clients are interested in tracking the progress of their new homes – whether that be via email communication from the builder, or walk throughs. Before you head to the homesite unannounced, talk to your builder early on about attending inspections, and what is happening at the home site. Even if your presence is not required, it’s an opportunity to learn more about what’s behind the walls of your new home and how everything works. If you’re planning to hire your own inspector to do an additional review of the home, notify your builder prior to the start of construction.
 If you are building in Utah, there are literally HUNDREDS of questions that you can ask your builder. The terms of the contract need to be laid out in the beginning before any work is complete.